Mastering Margherita
The simplicity of pizza Margherita—topped with just fresh mozzarella, tomatoes, fresh basil and olive oil—means every ingredient must be excellent. But when Chris Martin, of West Liberty, Iowa, makes it, the cheese leaks moisture as the pizza bakes, leaving unappealing pools of milky liquid. She asked for a solution.
Fresh mozzarella’s high moisture content makes this a common problem. One option is to thinly slice the cheese, then press it with paper towels to extract as much liquid as possible. The easiest way to do this is to freeze the cheese for 15 to 20 minutes (to make it easier to slice), then cut it with a serrated knife. The slices then can be placed between paper towels and pressed under a heavy pan or weighted baking sheet. But we also found a less conventional solution: more cheese. We tore our mozzarella into 1⁄2-inch pieces, then pressed them between paper towels. We then tossed the pieces in finely grated Parmesan cheese until evenly coated. Scattered evenly over the pizza, the cheese melted and browned perfectly, covering the pizza completely and absorbing excess liquid.
Crying Over Split Milk
Suzanne Koski, of Northport, Alabama, likes to freeze leftover soup to reheat later. But those with milk or cream in them tend to curdle when thawed. She wanted to know if there is
a way to avoid this.
Dairy products tend to curdle after freezing because the chilling process makes the dairy more acidic. This is because as the soup freezes, ice crystals form, drawing water out of the acidic whey and lowering the dairy’s pH overall—a change that can cause the dairy’s casein molecules to coagulate when the soup is thawed and reheated. The ice crystals also can puncture the membranes of the fat droplets in the milk. When the frozen dairy is reheated to temperatures high enough to melt milk fat, the fat leaks out of the membranes and forms puddles of oil in the food. But there are a few ways to mitigate this. First, soups with higher dairy fat content tend to be more stable. So soups made with heavy cream are less likely to curdle than those made with milk. This is because heavy cream contains more fat globules, which surround casein proteins and prevent the clumping that results in curdling. Second, we found that the speed of thawing also made a difference. We froze various batches of soup, then reheated them. Some we thawed overnight in the refrigerator before placing over medium-low heat. Others, we kept frozen until heating in a double-boiler. In every instance, soups thawed slowly in the refrigerator maintained a creamier consistency. That’s because a gentler thaw more slowly reduces the size of residual ice crystals, as opposed to rapid thawing, which results in larger ice crystals suspended in the liquid. Smaller ice crystals are less likely to puncture the protective fat globules that keep the casein proteins from bonding together and clumping—thus preventing curdling.
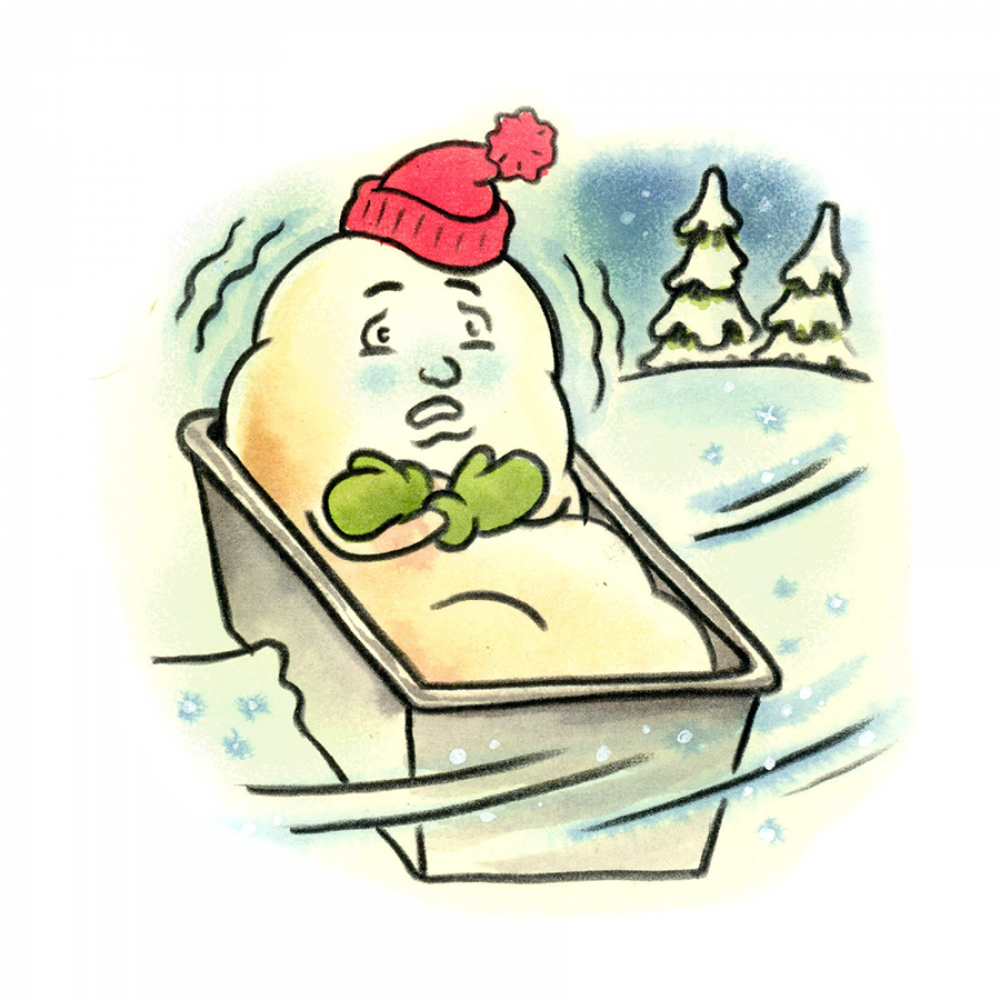
Rising to the Challenge
Yeast doughs are notoriously persnickety about achieving a proper rise. Several factors are at play, but among the most common are the temperature and humidity of the room. Many listeners have wondered how to control for this.
How well yeasted doughs rise is greatly influenced by ambient temperature and humidity. Warmth and humidity speed up yeast activity; lower temps make them more sluggish. The ideal ambient temperature for dough fermentation typically is between 70°F and 80°F, with a relative humidity of 75 percent to 85 percent. But average room temperature often is between 68°F and 73°F, with a relative humidity of no more than 55 percent. Add changing seasons, and achieving optimal proofing conditions can be tough. This is why professional bakers often use proofing boxes, enclosed devices designed to regulate temperature and humidity. Since most home bakers don’t have these, we wanted to determine the best way to mimic those conditions. Some people set a steaming cup of water in an oven or microwave, but these have drawbacks. Most microwaves are too small for large bowls of dough, and using the oven to proof means you can’t heat it in advance. A large (100-quart) cooler worked well. It was large enough to accommodate both two cups of boiling water and a large bowl of dough. The water increased the temperature inside the cooler by 20°F and held it near there for close to two hours. For the second rise, adding a fresh cup of boiling water was plenty. But we preferred a large clear plastic storage bin. Because they are not insulated, bins required three cups of water to hold the appropriate temperature. But this is offset by the convenience of being able to see the dough without lifting the lid (and releasing heat and humidity).


