Your email address is required to begin the subscription process. We will use it for customer service and other communications from Milk Street. You can unsubscribe from receiving our emails at any time.
Danish Dream Cake
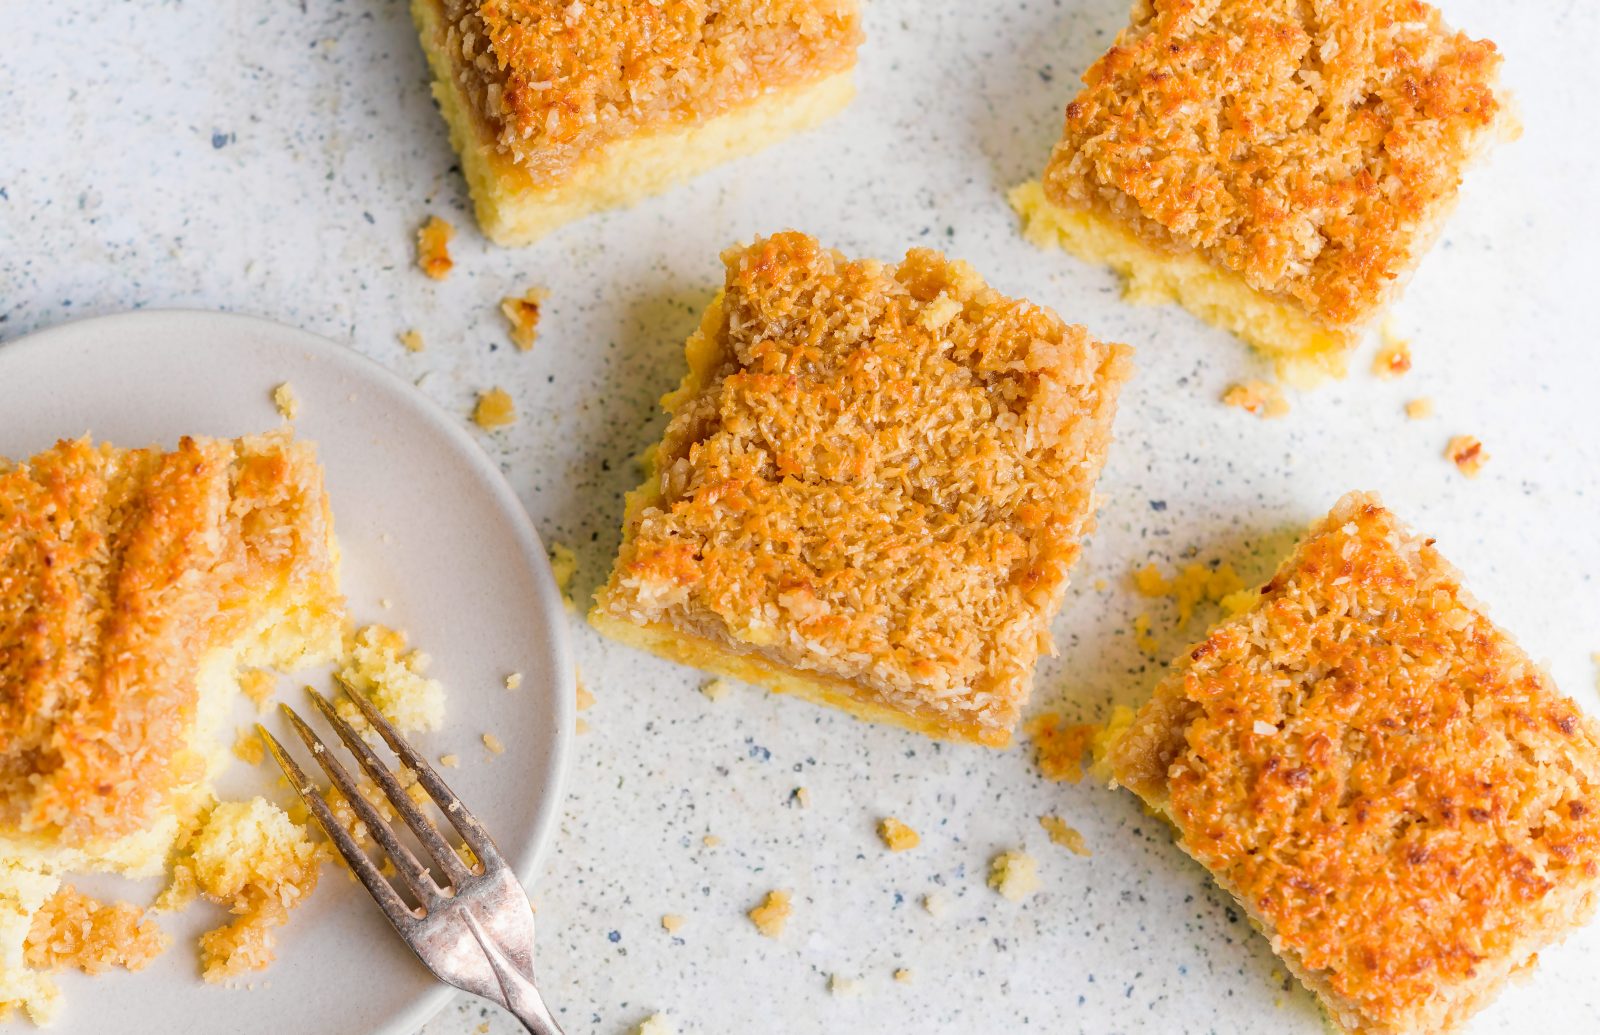
In our version of the Danish baked good known as drømmekage (dream cake), a light, fluffy vanilla cake meets a buttery coconut–brown sugar topping. The topping is spread onto the still-warm cake, then a brief stint under the broiler caramelizes the surface. When applying the topping, spoon it onto the cake’s edges, which are sturdier than its center, then spread inward to cover the entire cake. You will need a broiler-safe 9-by-13-inch baking pan for this recipe (note that neither nonstick nor Pyrex is considered broiler-safe). For slicing, use a serrated knife to make clean cuts. Wrapped well and stored at room temperature, leftovers will keep two days.
12
Servings
Tip
Don’t underwhip the eggs and sugar. The mixture should be beaten with the whisk attachment until pale and thick. The air incorporated during whipping is in part what makes the cake light. Also, don’t forget to tent the finished cake with foil after broiling. It’s an unusual step, but the foil traps a little moisture and prevents the topping from forming a brittle crust so the cake is easier to cut for serving.
50 minutes
plus cooling
Ingredients
-
210
grams (1¾ cups) cake flour, plus more for the pan
-
1½
teaspoons baking powder
Directions
-
01Heat the oven to 350°F with a rack in the middle position. Mist a broiler-safe 9-by-13-inch baking pan with cooking spray, dust evenly with flour, then tap out the excess. In a small bowl, whisk together the flour and baking powder, then sift into a medium bowl or onto a large sheet of kitchen parchment.
Pardon the interruption
You need to be a Milk Street Digital Member to see the full recipe
JOIN MILK STREET DIGITAL & PRINT
12 WEEKS FOR JUST $1
and get access to all of our recipes and articles online, as well as in print.
GET DIGITAL & PRINTReviews
May 23, 2023
Better with less topping....
Lovely, easy to make cake. I would decrease the amount of topping though. The amount of topping was too heavy for this light yummy cake.
Hi David -
Since this is traditionally a coconut cake, we haven't tested it with nuts but feel free to give it a try and let us know how it goes! One tip - I'd keep a close watch on the nuts under the broiler. Since they have more fat than coconut they will be more likely to burn quickly.
Best,
The Milk Street Team
Hi D.M. -
The recipe calls for dark brown sugar. I think Chris just shortened it to say "brown sugar" in the TV spot, but it's definitely *dark* brown sugar in the video. Sometimes colors can read a little different depending on what screen you're watching on. Hope that helps!
Best,
The Milk Street Team
I've made this cake twice and it's truly delicious and easy. I find, however, that it's a narrow margin (in minutes) between under-baked and over-baked. By the way, my oven temp is on target. The first time I baked it for 20 min. and the second time for 22 min. Just a heads-up to start checking at 20 min.
Inquiry on Baking Time- Should this cake be pulled out at 22min even if it's underdone? The batter was a but thin- perhaps more like pancake better than a cake batter, but tasted good. At 22 min it was still very liquid inside when tested with a toothpick. It took about 5 minutes to firm up enough to pass a toothpick test. When cooling it shrunk massively and became dense and chewy, indicating that it was very over baked. Should I have taken it out under baked and hopefully it would have finished baking as it rest? I'm going to recheck the accuracy of my oven temperature, too.
Hi Virginia -
In our ovens here at Milk Street, we found that the cake was fully baked between 20-22 minutes. By that we mean a toothpick could be inserted and come out clean or, my preferred method for doneness, the cake will bounce back when pressed with your finger. However, everyone's oven is slightly different so it may take more or less time in your oven. The cake batter is pretty thin and liquid, but you do want to make sure to beat the eggs and sugar until they are quite pale in order to incorporate air, which will give the cake a light, airy texture. If not enough air is incorporated this could cause the cake to be dense. It might be helpful to watch this episode of our TV show where we make it to see the proper batter texture - https://www.177milkstreet.com/tv/best-european-desserts. Hope that helps!
Best,
The Milk Street Team
In the accompanying article, Christopher Kimball writes "It’s a classic cake recipe: cream butter and sugar, add the eggs one at a time, then the flour and dairy in batches. The frosting is made on the stovetop. After the cake is frosted, it finishes in the oven."
Not in this recipe, izzat poetic licence?
Hi Mark -
Nadine's recipe uses the creaming method for the cake but, actually, the traditional recipes we found in our research use a sponge cake method, which is what we've chosen to use here. We did test the creaming method in our recipe development, but ultimately decided that with the buttery, rich topping the cake was too rich and felt greasy with the addition of butter in the cake. As you'll see in the recipe, we do make the topping on the stovetop, top the cake, and then finish it under the broiler as it is traditionally done.
Best,
The Milk Street Team
This “dreamy” cake was a hit at an afternoon tea that I hosted recently at home. Everyone wanted to take a slice home. I’m so happy with the results and though I lacked about 80 g of shredded coconut, the frosting still turned out perfectly! This was the first cake recipe I’ve tried by Milk Street and definitely will not be the last. Thank you!
Become A Subscriber To Rate and Review All Our Recipes.
Please Log in or join today for $1.
Very good and rather easy. Weights - especially coconut and brown sugar - seem high compared to cups measurement. Perhaps this has to do with the variable moisture content of each?