Your email address is required to begin the subscription process. We will use it for customer service and other communications from Milk Street. You can unsubscribe from receiving our emails at any time.
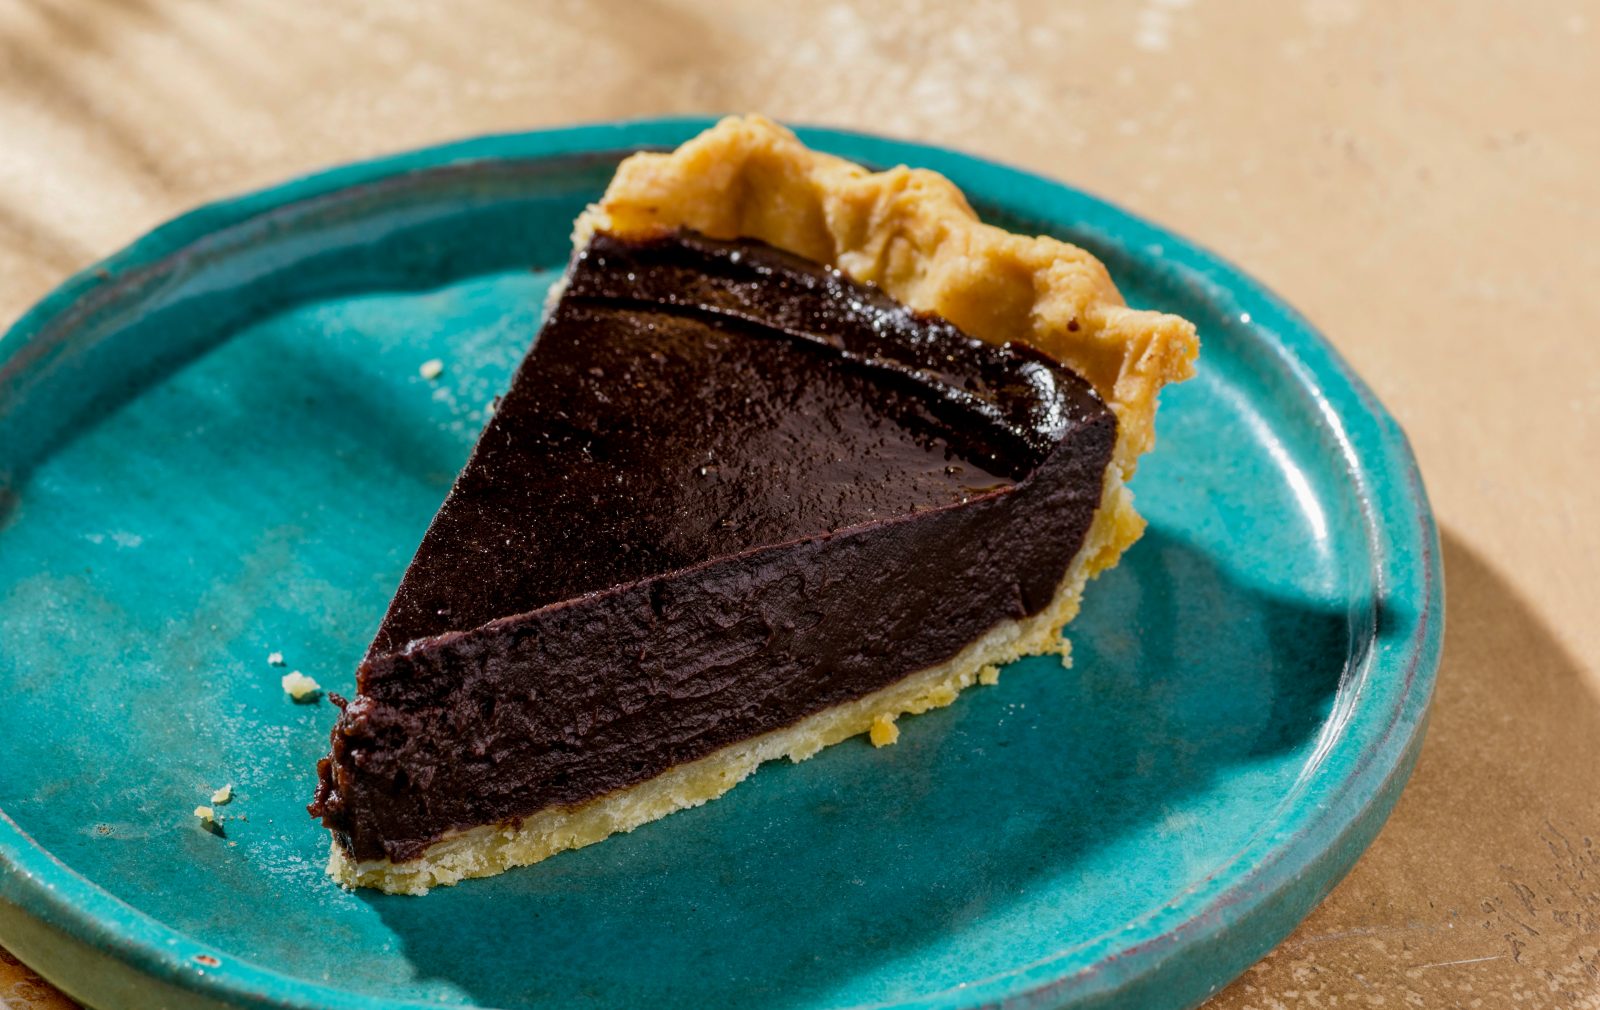
Yelapa-Style Chocolate Pie
In Yelapa, on the west coast of central Mexico, Chelly Rodriguez is known as the Pie Lady. For more than two decades, she’s been selling home-baked pies by the slice, to be eaten out of hand while lounging or strolling on the beach. Food writer and recipe developer Paola Briseño-González re-created Rodriguez’s chocolate pie (pay de chocolate in Spanish), complete with a sandy, cookie-like crust and a dark, cocoa-rich filling that holds its shape whether you serve slices at room temperature or chilled. Dutch-processed cocoa is the best type to use here, as the alkali added during processing gives it a deep, dark hue. That said, natural cocoa will work but the filling will be lighter in color. When lining the pie plate with the rolled dough, if the dough tears, not to worry, as it’s easy to patch. To prevent shrinking and slipping during baking, the foil-lined pie shell is filled with about 2 cups of pie weights. The weights are removed after about 20 minutes, then the pie shell is returned to the oven to allow it to brown all over. This pie is a perfect dessert to bring to an outdoor gathering. Store leftovers well wrapped in the refrigerator for up to three days.
8 to 10
Servings
Tip
Don’t let the filling reach a vigorous simmer on the stovetop. Be sure to pull the pan off the heat when the mixture reaches a gentle simmer and has thickened to the consistency of sour cream. Whereas a solid simmer or a boil is desirable when making a standard pudding or pastry cream, the finished texture of this filling will become too thick if it reaches that point, as baking will “set” it even more.
1 hour 40 minutes
30 minutes active, plus cooling
Ingredients
-
195
grams (1½ cups) plus 33 grams (¼ cup) all-purpose flour, divided
-
1
teaspoon table salt, divided
Directions
-
01Heat the oven to 375°F with a rack in the middle position. In a medium bowl, whisk together the 195 grams (1½ cups) flour and ¼ teaspoon salt, then make a well in the center; set aside.
Pardon the interruption
You need to be a Milk Street Digital Member to see the full recipe
JOIN MILK STREET DIGITAL & PRINT
12 WEEKS FOR JUST $1
and get access to all of our recipes and articles online, as well as in print.
GET DIGITAL & PRINTReviews
September 2, 2022
A big hit with my co-workers!
Made this pie for a birthday celebration at work...everyone loved the cookie-like crust and the big chocolate flavor...will definitely make again!
Become A Subscriber To Rate and Review All Our Recipes.
Please Log in or join today for $1.
This came together easily and looks just as lovely as the picture. The crust has to be the easiest pie crust I’ve ever made, and it was easy to handle, resulting in a nice, uniform presentation. It did not have as much flavor, or as much crumble as my usual crust, but I will use the crust recipe in the future when I am pressed for time and/or want the prettiest result possible. It’s infinitely better than a pre-made crust. The filling was creamy, chocolatey, and satisfying. It definitely benefitted from the maple whipped cream I added. It’s a good recipe, but I don’t find it particularly “Mexican” or in any way exotic or unusual (as most Milk Street recipes tend to be). It’s a chocolate pie, or a chocolate cream pie with the whipped cream added.