
What to Do the Week Before Thanksgiving
Turkey Day draws closer.
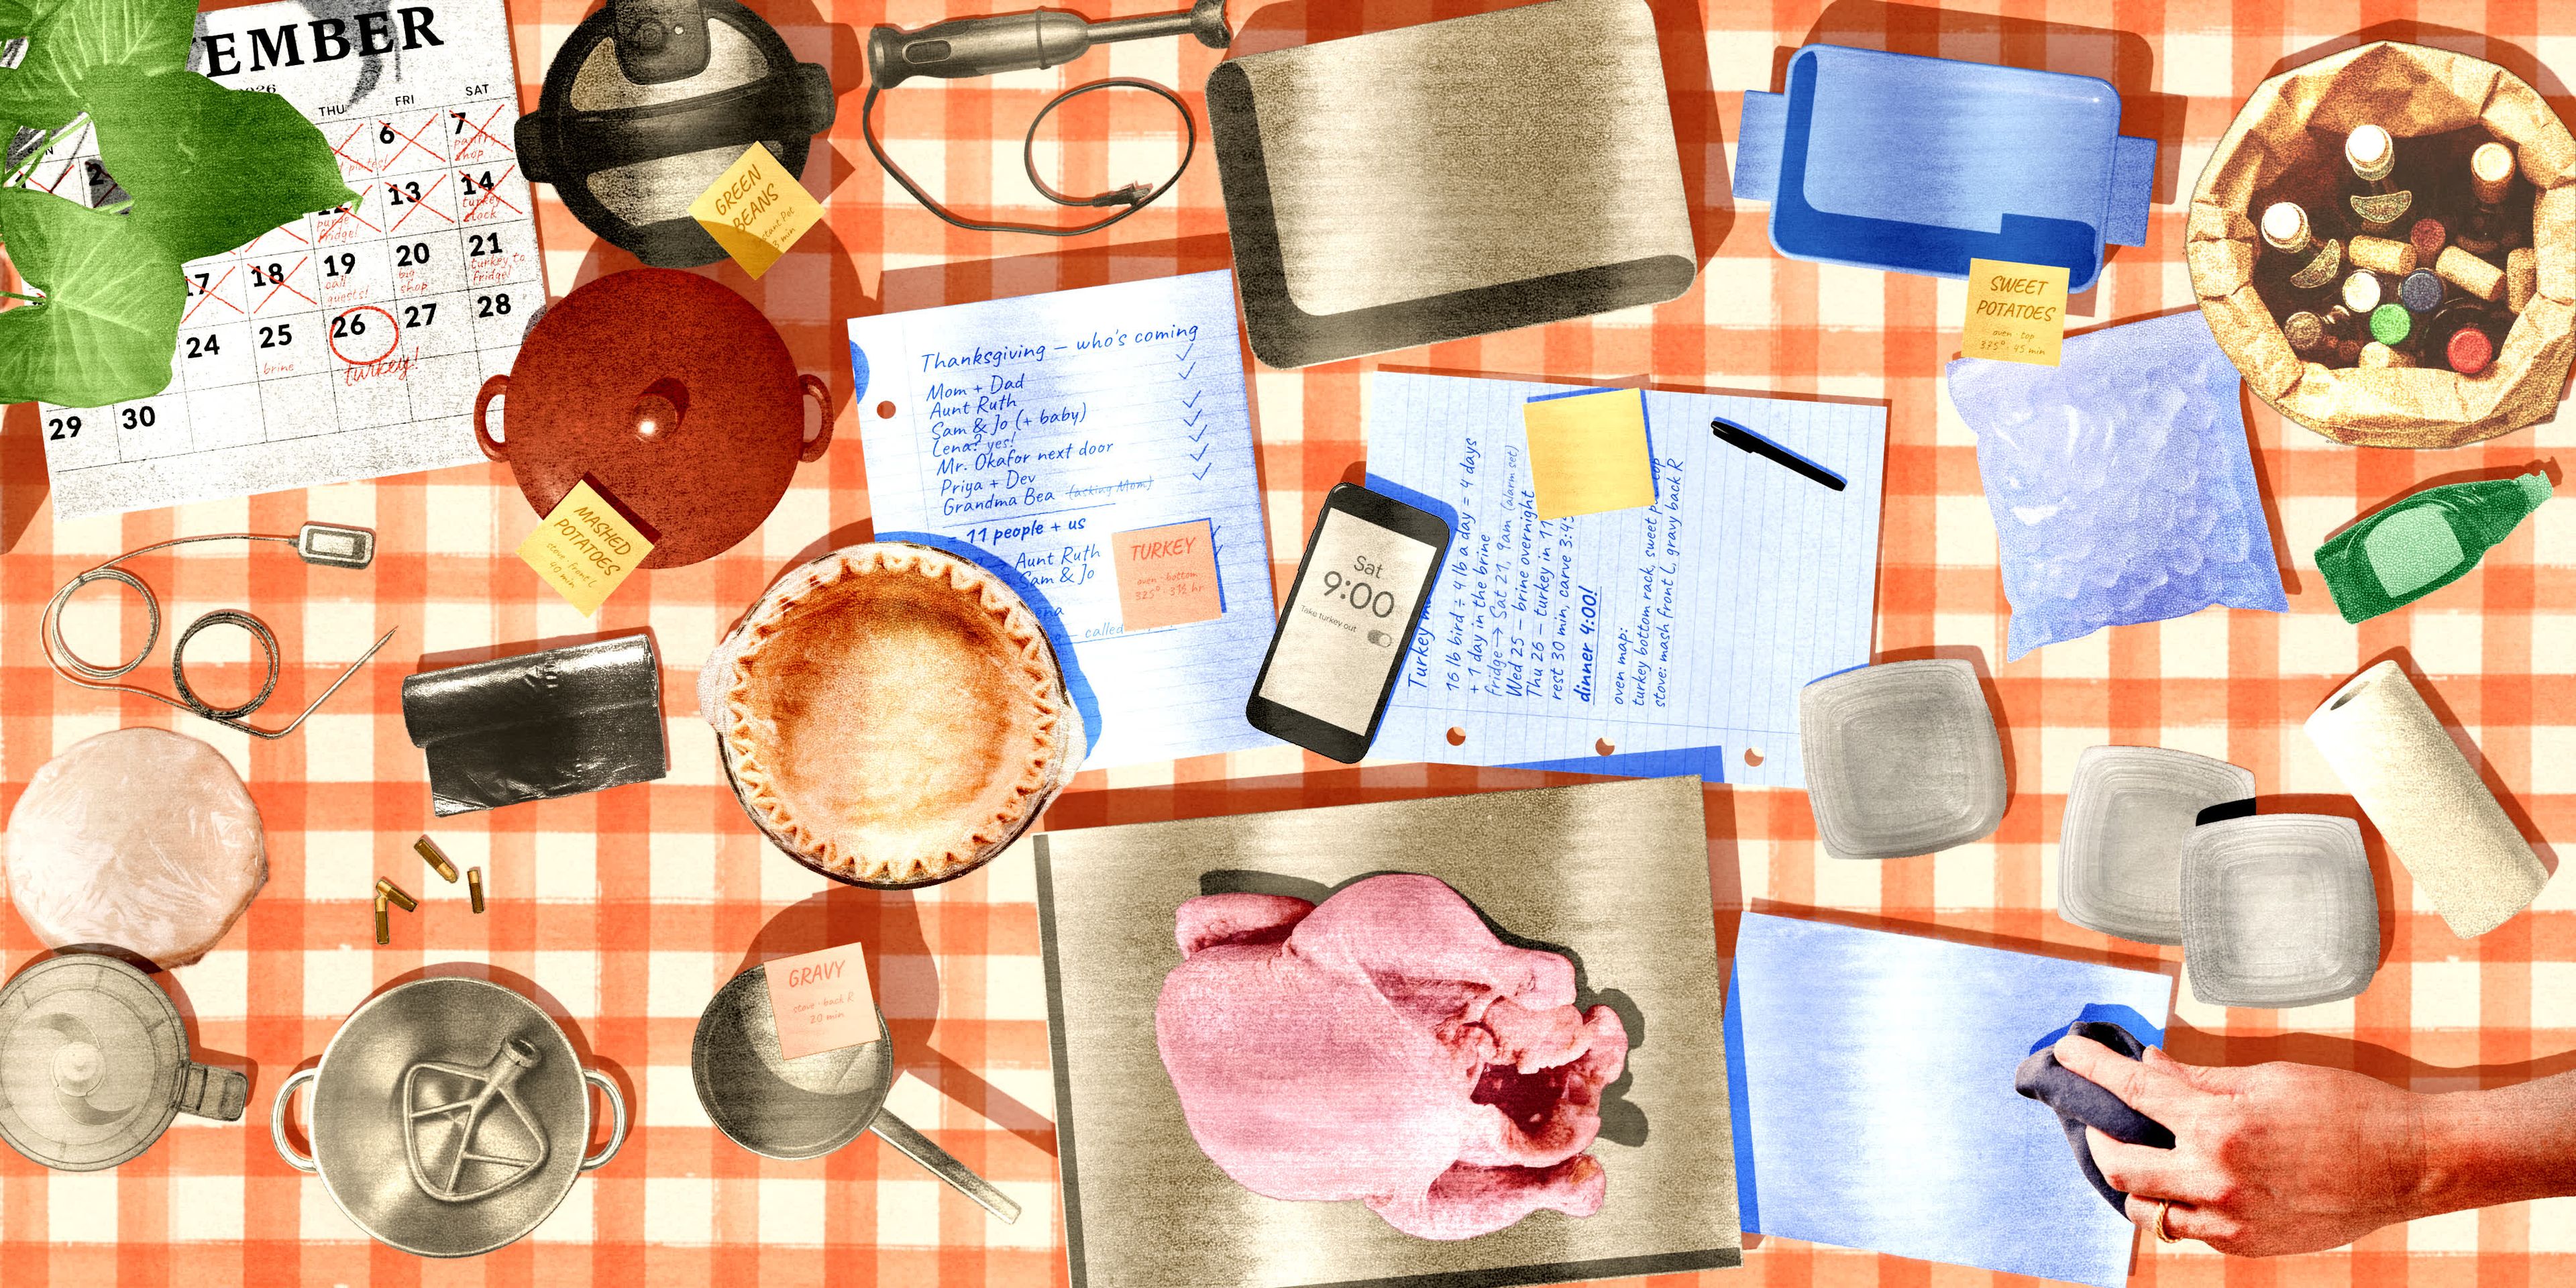
Well, here we are. It’s the week before Thanksgiving. It’s too early to thaw the turkey and too early to bake your pies. The good news is, if you’ve been following along at home, you’ve already completed our month-out, 3-week, and 2-week guides, so you are in great shape already. If you haven’t been, that’s fine too—just give those guides a peep and do anything that needs doing. (Again, this series is for the preppers among us, so you might not need to complete every single one of these tasks.)
As always, here’s the short version of what I hope to accomplish this week:
- Check in on your guests
- Make your turkey timeline
- Shop before the weekend rush
- Do an appliance check
- Map out oven and stove usage
Check in with your guests
Plans change. People change. Sometimes, to our distress, they fail to inform us of those changes. That’s so important, one week out, to check on everyone and confirm that they are still bringing the dishes—and people—that they said they would bring. Update the spreadsheet accordingly. If someone crucial drops out, like the pie baker, assign the dish(es) to another guest, or add it to your own personal to-do list.
Make your turkey timeline

Do not forget to take the turkey out of the freezer in a timely fashion. Though you can speed things up with cold water baths (or low-temp sous-vide baths), setting the bird in the fridge for a few days is a lot more hands-off, and much less stressful.
To thaw fully, a frozen turkey needs one day in the fridge for every 4 pounds of mass
A turkey needs roughly one day in the fridge for every four pounds of mass, but I usually give it an extra day on top of that. Factor in a brine if you plan to do one, too. Set aside one day for wet or dry brining, then count back from there. For my turkey—which is 12 pounds and will need 24 hours of brining—I know that I need at least three days in the fridge, but I’m going to take it out four days ahead, just to be safe. This means I need to get that bird into the fridge to start thawing on Saturday. Once you know your thaw date, create an event and set an alarm on your phone so you don’t forget.
Shop before the weekend rush
With the exception of a few very perishables, you should be good to buy the majority of your groceries now. Review those lists we talked about in our first planning guide one more time to be sure you haven’t missed anything, and make one last, final shopping list. Be sure to include beverages (both hard and soft), ice, whipping cream or ice cream to go with the pies, and any serving utensils you may have missed. I also like to pick up some to-go containers, usually at my local restaurant supply store, so I don’t have to send any of my good Tupperware home with my guests. It’s also not a bad time to stock up on household items like paper towels, dish soap, hand soap, and bathroom tissue.
Do an appliance check
By now your oven, fridge and freezer should be clean and ready to accept lots and lots of food. Now it’s time to check in on the other appliances, like your stand mixer, food processor, immersion blender, and digital thermometer. Be sure that anything battery-operated—like a digital thermometer to monitor the turkey—has batteries, with enough juice to carry you through the holiday. You do not want to be dashing around on Turkey day in search of lithium batteries. (Ask me how I know!)
Map out your cooking real estate
Oven and stove space are prime real estate on Thanksgiving, so I like to map it out ahead of time. You can do this too: all you need are some sticky notes and your trusty Thanksgiving Spreadsheet, which should have the cooking method for each dish listed beside the name of the dish itself.
Write the name of each recipe on a sticky note, as well as where you plan to cook it (and how long you plan to cook it for), then stick it to the dish in which it will be cooked. So, for my mashed potatoes, I’ll grab my Dutch oven, write “mashed potatoes—stove; 40 minutes” on the note, and stick the note to the Dutch oven. (For the dishes that will be going in the oven, I’ll write their cooking temp as well.) I do this with every single recipe. If I’m cooking something in a specialty appliance, like an Instant Pot, I’ll stick the note directly on its lid.
If you want to be extra prepared—and who wouldn’t?—you can even dig out the serving utensils for each recipe and set them in the dish, to ensure you have enough spoons for all the various casseroles. (If you find yourself short, go snag a few extras at your local restaurant supply store or secondhand shop.)
Join the conversation on Facebook, Instagram, TikTok and Pinterest.
And if you're looking for more Milk Street, check out our livestream cooking classes with our favorite chefs, home cooks and friends for global recipes, cooking methods and more.

Claire Lower
Claire Lower is the Digital Editor for Christopher Kimball’s Milk Street, with over a decade of experience as a food writer and recipe developer. Claire began writing about food (and drinks) during the blogging boom in the late 2000s, eventually leaving her job as a lab technician to pursue writing full-time. After freelancing for publications such as Serious Eats, Yahoo Food, xoJane and Cherry Bombe Magazine, she eventually landed at Lifehacker, where she served as the Senior Food Editor for nearly eight years. Claire lives in Portland, Oregon with a very friendly dog and very mean cat. When not in the kitchen (or at her laptop), you can find her deadlifting at the gym, fly fishing or trying to master figure drawing at her local art studio.

