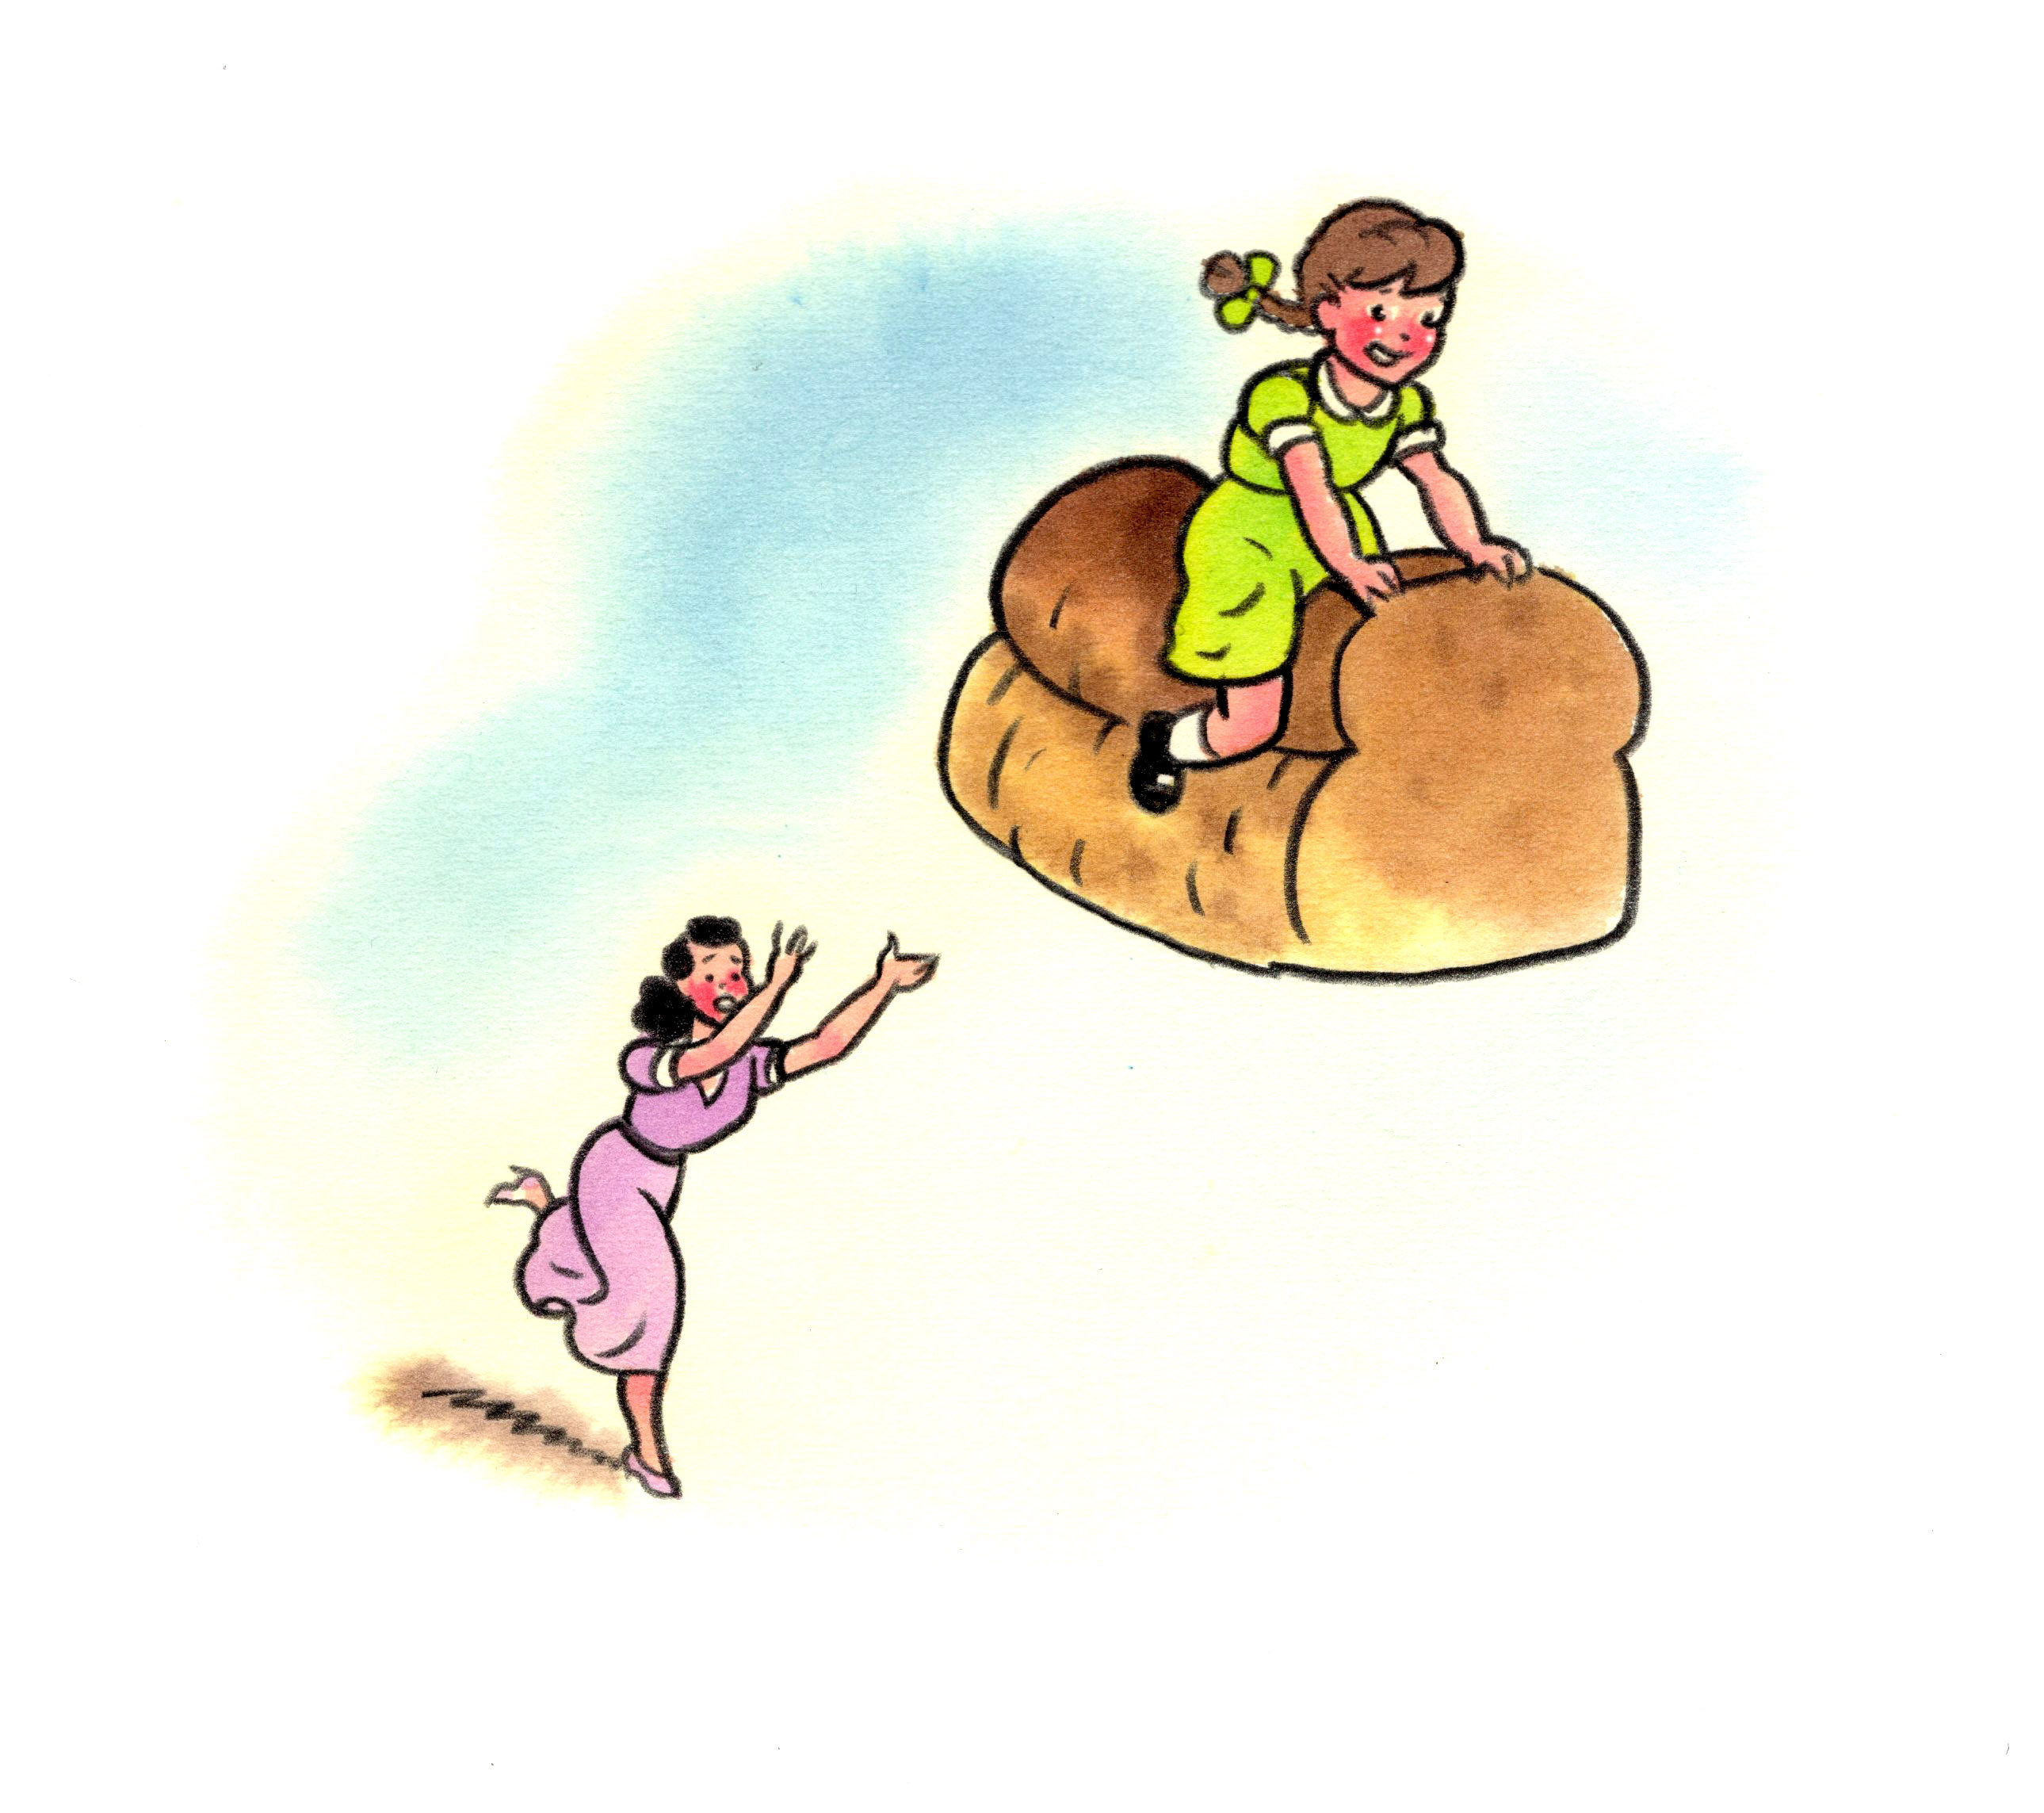
Is Tangzhong Too Good to Be True?
Japanese milk bread gets its especially soft, pillowy texture thanks in part to something called the tangzhong method, which involves mixing a “roux” into the dough. Readers wondered whether other breads could benefit from this technique.
Japanese milk bread—which is baked from an enriched dough made with milk, eggs and plenty of butter—boasts a hallmark fluffy texture often attributed to the addition of tangzhong, sometimes called a “water roux.” This roux is made by cooking a small amount of bread flour, water and sometimes milk (usually in a ratio of 1 part flour to 5 parts liquid) until the mixture becomes a thick slurry. This process gelatinizes the flour’s starch and traps moisture. When added to the bread dough, the trapped moisture in the gel increases the liquid in the recipe, but doesn’t interact with the gluten in the flour. That means less gluten development, which creates a lighter, softer crumb. Some sources claim you can adapt any bread recipe to work with the tangzhong method to give it a lighter texture akin to milk bread. The process is complex and involves calculating the hydration level of the recipe’s ingredients and using a certain percentage of those ingredients to create the roux. We tested this numerous times with multiple bread recipes, but the results were disappointing. Not only were the loaves not noticeably lighter or fluffier, some actually were denser. The most significant advantage we found was that these tangzhong-adapted loaves did stay moister longer and had an overall better shelf life. This led us to conclude that Japanese milk bread’s trademark airy texture isn’t due to the tangzhong method alone. Rather, the dairy and eggs play a role, too.
Toffee Trouble
Erin Mann’s family holiday tradition of making toffee sometimes hits a snag. The Chicago resident says that at some point during cooking, the toffee has a tendency to separate into an oily mess. She wanted to know why and how to fix it.
Toffee is an emulsion of fat and sugar that is cooked to 285°F to 290°F, which triggers the Maillard browning reaction that gives the candy its caramel color and flavor. It also is notoriously finicky. That’s because traditional toffee recipes often call for sugar and butter in equal amounts. Most butter predominantly is made up of fat and water, and the two easily separate when heated. For toffee, that can be a problem. If the water simmers off too quickly, the emulsion of sugar and fat will break, says baking expert Stella Parks in her book “BraveTart.” During cooking, several factors can affect the stability of the emulsion. Fluctuating temperatures, not stirring enough (or conversely, overworking the mixture), using thin-bottomed pans, even ambient humidity all can lead to toffee that splits. Luckily, Parks has a simple solution: Replace the butter with heavy cream. Cream itself is an emulsion—a stabilized one. That is, unlike butter, cream won’t separate when heated. This extra stability helps prevent the toffee from breaking when cooking. “The Joy of Cooking” also takes this approach with its English toffee recipe, which relies on both butter and cream. In our testing, we found that replacing half of the butter with cream produced delicious toffee that stayed perfectly emulsified, every time.
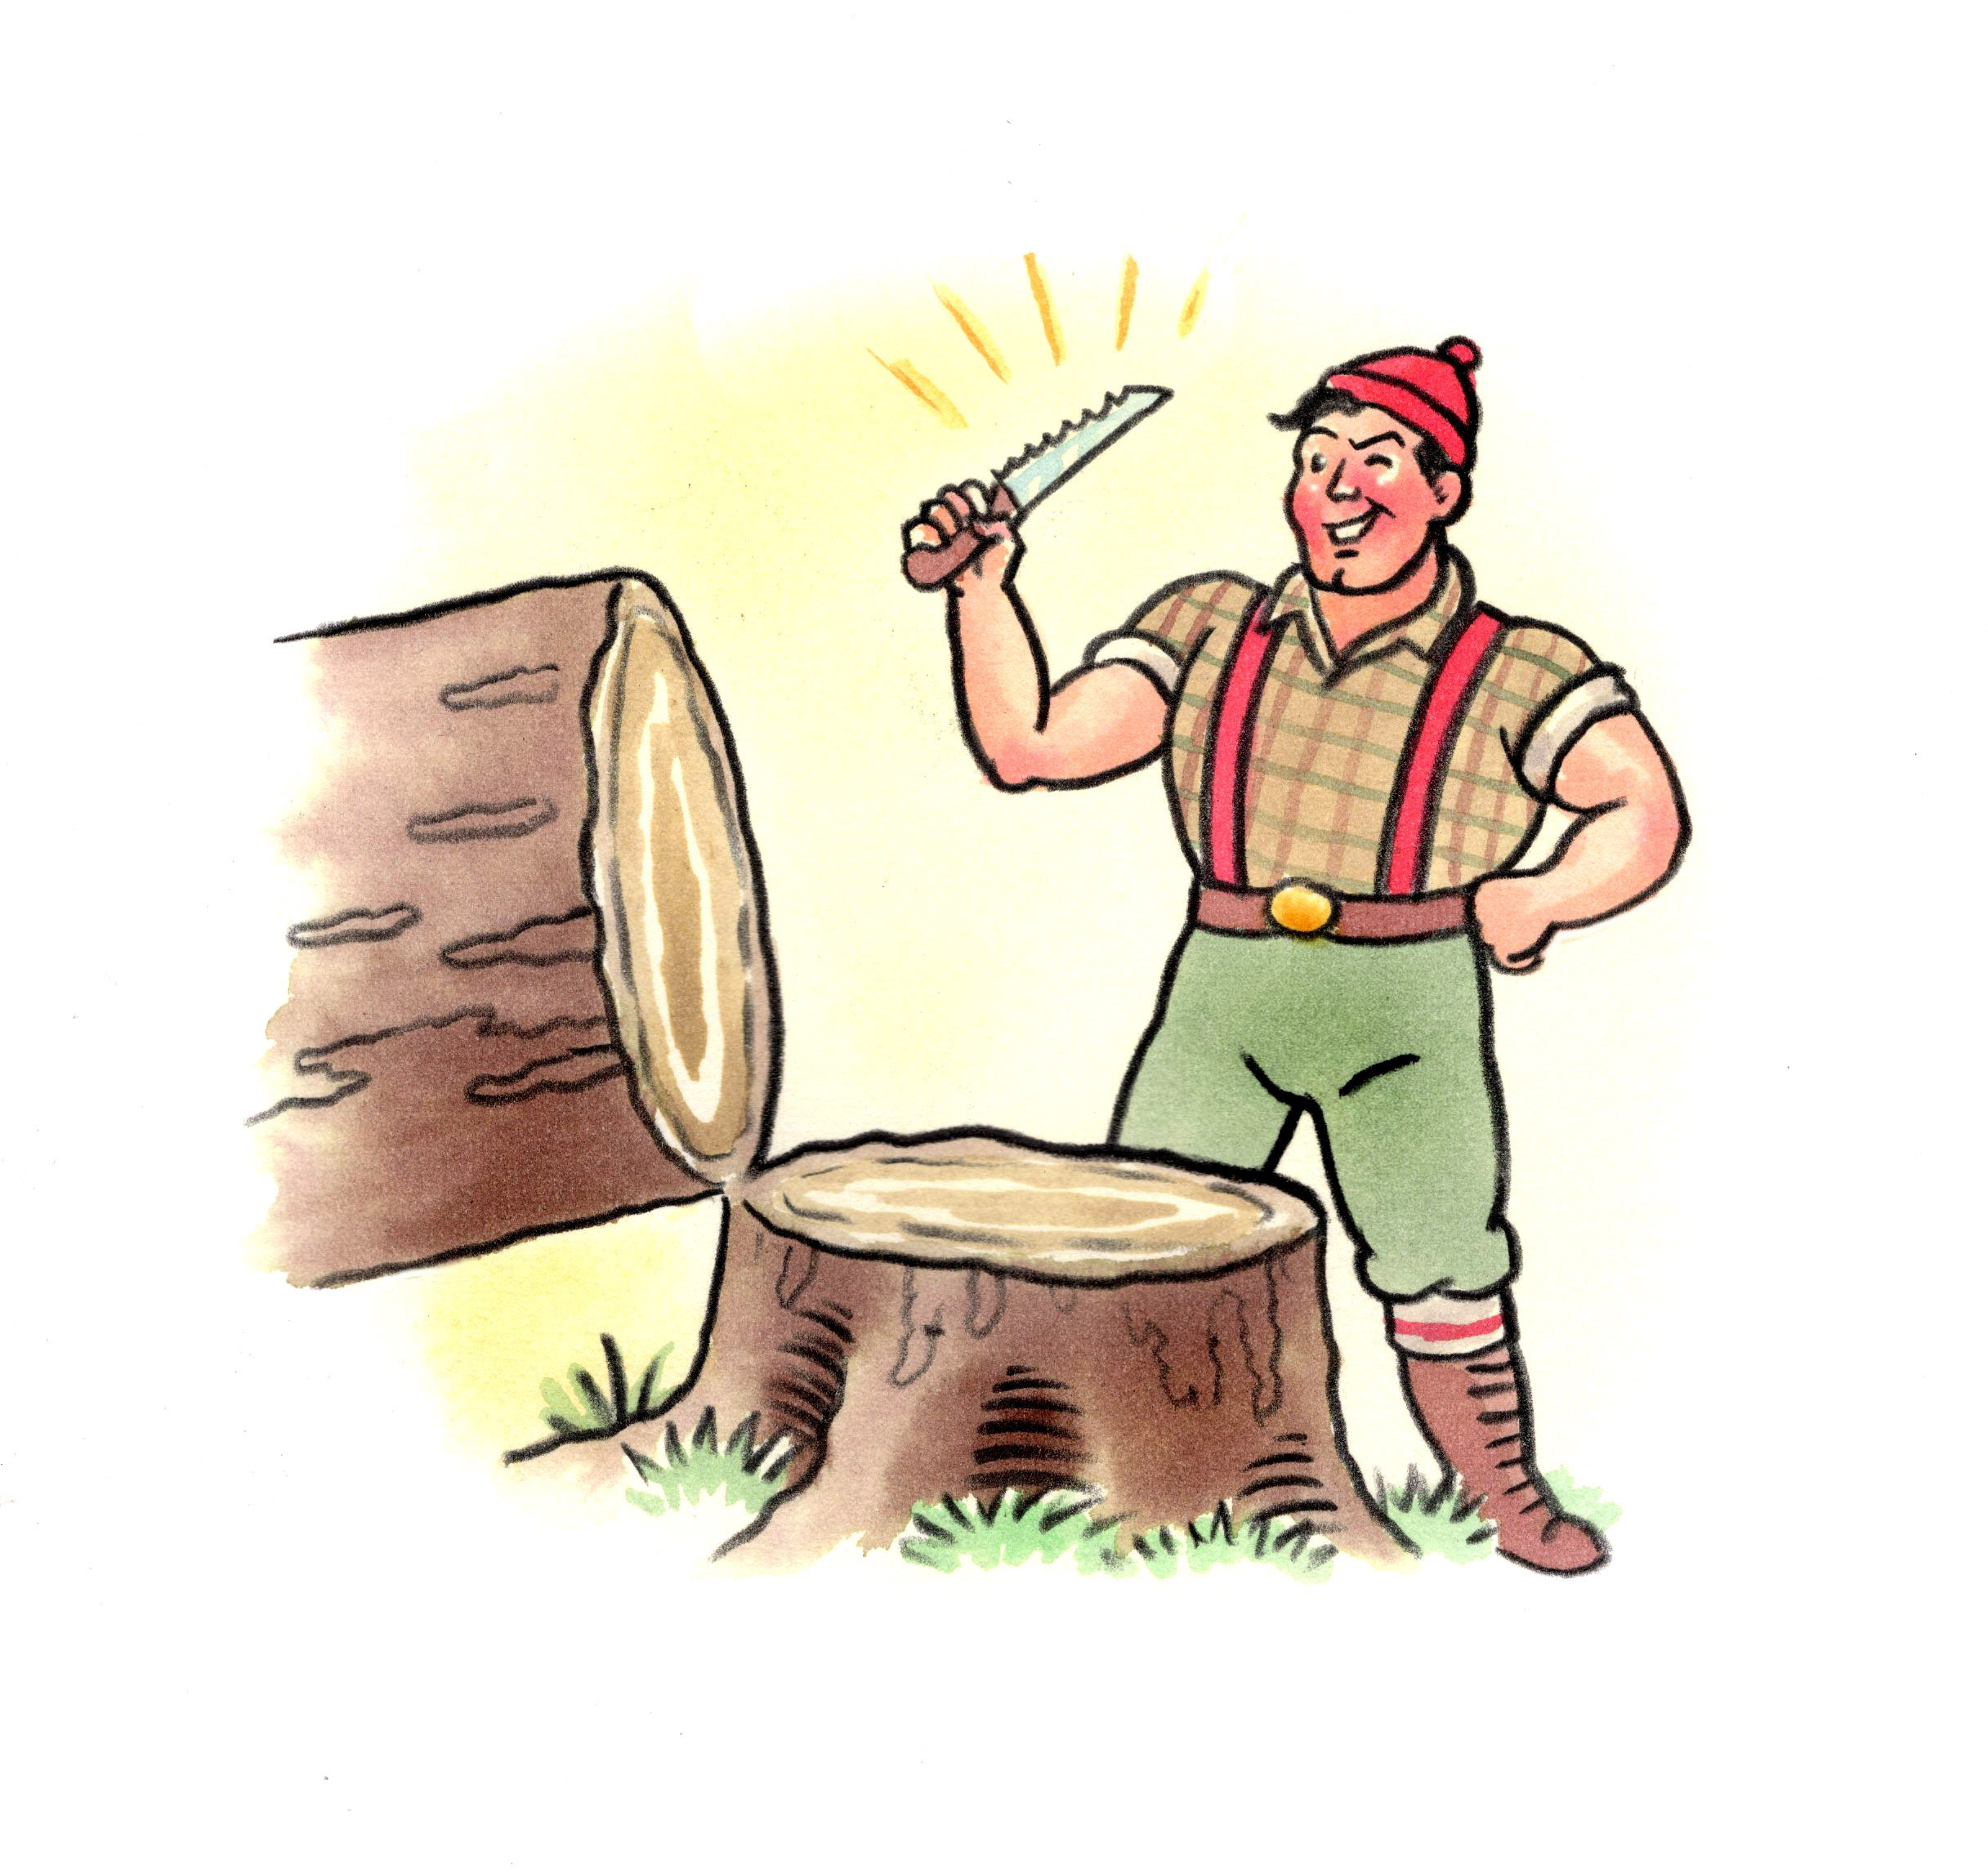
Staying Sharp
Like any knife, serrated knives lose their edge over time. Our listeners asked for the best way to sharpen them.
The jagged teeth of serrated knives allow them to grip and saw into tough foods. They also distribute force differently than a smooth blade, helping them remain sharp longer. But that doesn’t mean they never need sharpening. The best way to sharpen a serrated knife is by using a sharpening rod. We don’t mean the ceramic or steel honing rods typically bundled with knife sets. Instead, look for a tapered diamond rod. These more specialized tools, which are smaller than honing steels (they often are used for repairing chipped crystal and for sharpening chainsaws), can be found at most hardware stores for less than $20. To use them, simply slot the rod into the grooved space between the tooth tips of the blade, also known as a “gullet.” With a smooth, slow motion, draw the rod through the gullet to sharpen the edge. One at a time, repeat with each gullet. Be sure to apply light pressure, work the rod away from the knife, and always pull the rod in just one direction, rather than sawing it back and forth. The portion of the rod being used to sharpen the knife should not be wider than the serration—this is where the tapered shape of the rod comes in handy, as it can be adjusted to fit your knife.