How to Spot Well Tempered Chocolate
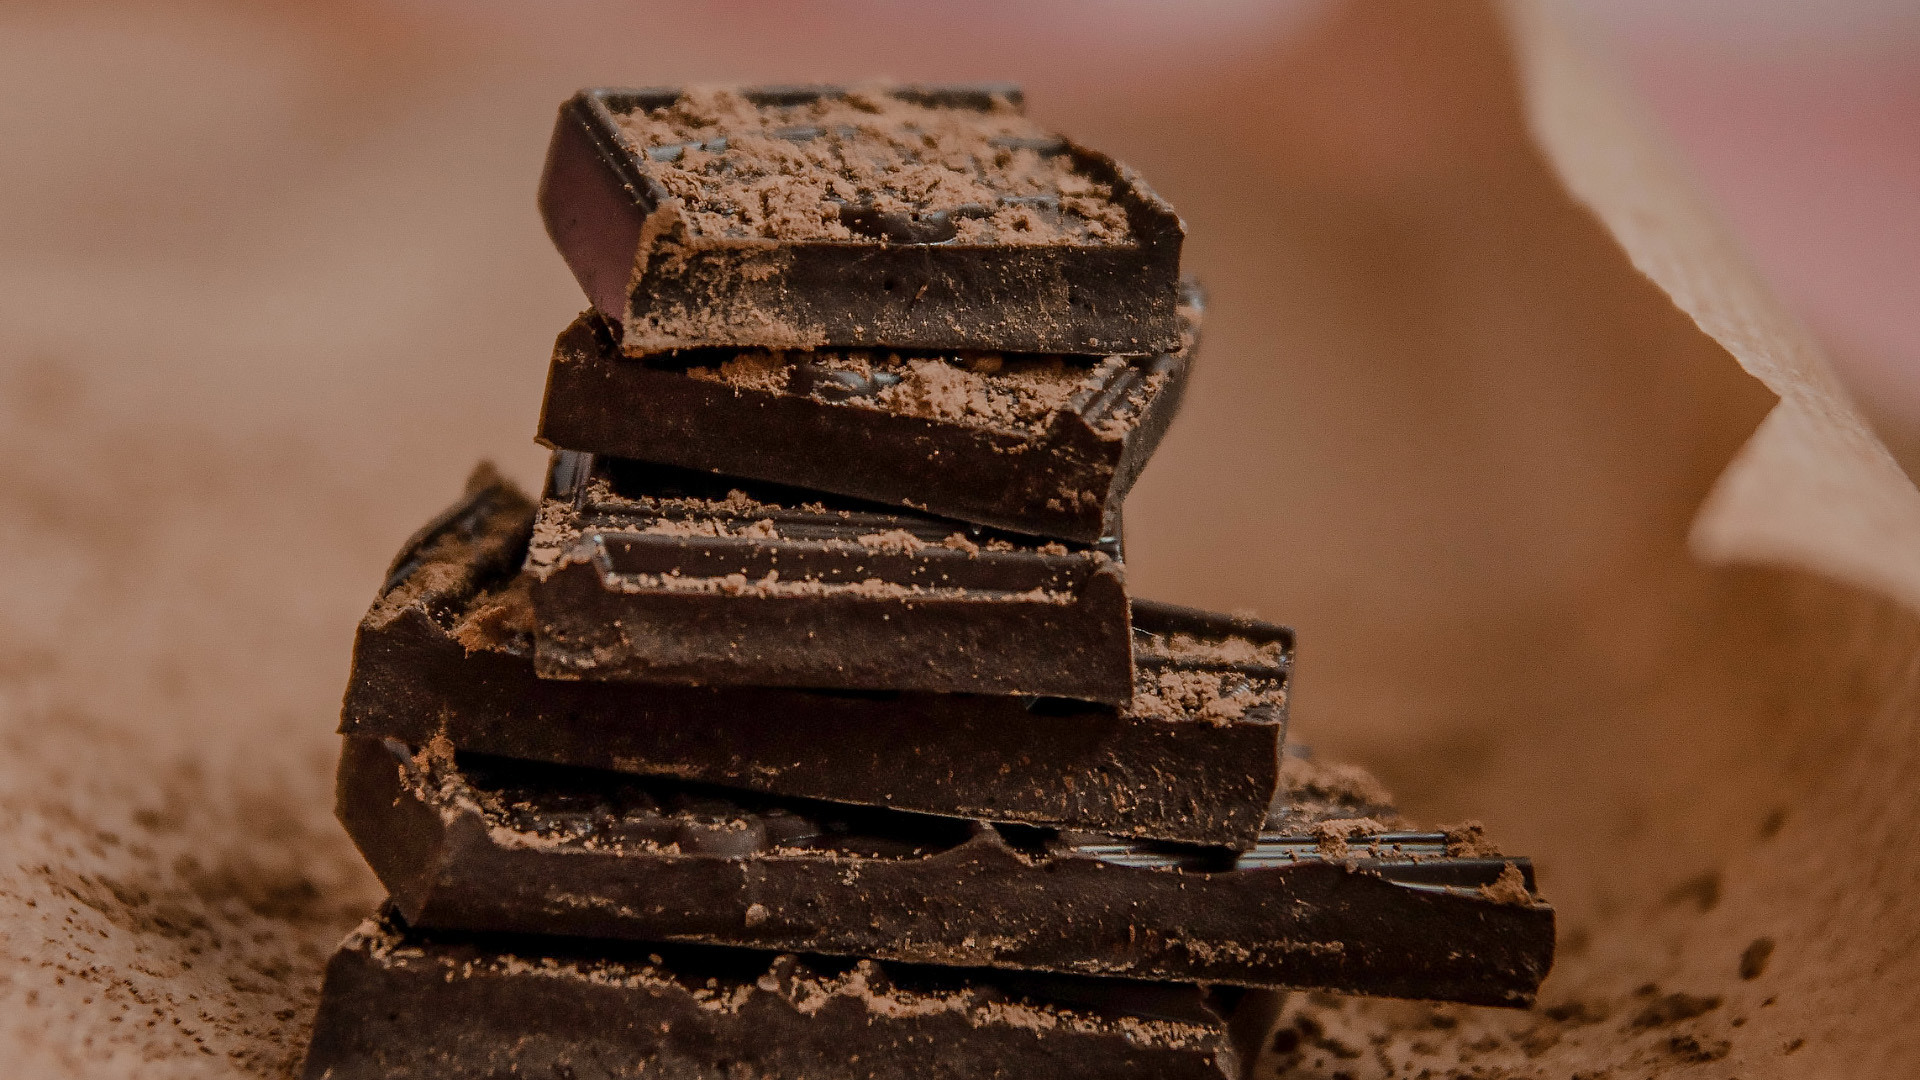
“Tempering chocolate is bringing chocolate to a perfect state so that it can become a shape that you desire,” Valerie explained. “Well tempered chocolate has a shine to it and a distinct snap. If you pour it out, and it solidifies, it should snap; it shouldn't bend. There should be rigidity to it, for sure.” Tempered chocolate should also set quickly. “Setting well tempered chocolate shouldn't take long,” she added. “The actual set should take five minutes. It's getting it to a tempered state that takes time. But once you have it in sort of a balanced situation, then setting up shouldn't take long at all. And it shouldn't have any streaks or spotting.”
And what about those little white dots? “That's bloom,” she explained. “And if it's a white dot...if they're actually dots, then it's about sugar and fat distribution. If it has a white sort of film on it, that's an issue with temperature, either in the way it was manufactured or in the storage.”
Water and Chocolate Are Sworn Enemies
Almost every home cook I know has, at some point, had a bowl of melted chocolate seize up on them. The culprit? “Water,” said Valerie. “Water and chocolate hate each other. So anytime you're working with chocolate, you have to make sure that all of your equipment, all of your tools have no water on them. They've got to be completely dry and very clean. It just disrupts the whole thing. It's complete chaos. They do not play well. Don't set them up for a play date.”
Bittersweet Chocolate Is the Most Forgiving
“I find bittersweet chocolate the easiest to temper,” Valerie told me. “So something over 55% [cacao] is pretty easy to temper. It's a little bit more flexible. White chocolate can burn fairly quickly. If you get white chocolate too hot, it will burn and caramelize—which by the way is not a bad flavor. A lot of pastry chefs do that, and it turns into almost like a dulce de leche kind of a flavor. Milk chocolate also scorches at a lower temperature. Bittersweet chocolate, because it has no dairy and because it has a slightly lower sugar amount, you can take it hotter. It's just a more forgiving ingredient to work with.”
Whether you choose chips, bars, or couverture is up to you, but Valerie recommends using what the pros use—couverture chocolate feves that are designed to melt beautifully. “Chocolate comes in a variety of forms,” she explained. “With bean-to-bar chocolate, you're taking cacao beans, cocoa butter, sugar, vanilla, all those things, and you're starting from point A. Large chocolate manufacturers—such as Tcho, Guittard, Valrhona—what they send to people who work with chocolate in the professional world are something called feves, which are generally flatter and present as just very large chocolate chips.”
Feves are easy to source for non-professionals too. “I am an advocate of Valrhona and Guittard” said Valerie, adding they’re “totally accessible, great products.”
Use a Microwave—not a Double Boiler—to Set Yourself Up for Success
“It's easier to control heat in a microwave oven than in a double boiler,” Valerie explained. “Say you've got a glass or metal bowl over a double boiler—that can get too hot very quickly. Then you've got this really hot bowl, and you're introducing seed chocolate to that melted very hot chocolate. Sometimes you've gotten it a little too hot. And if that chocolate is still in that really hot bowl, that temperature is probably still going up after you've removed it from the heat source. Whereas microwaves generally heat internally to externally. So the melt factor is just much more easy to control. And whatever vessel you're melting that chocolate in doesn't carry the same heat that it would in a double boiler.”
In terms of vessels, Valerie suggests either a microwave-safe glass container, like a Pyrex measuring cup, or “a sustainable, biodegradable, plastic-esqe bowl that doesn't absorb odor.” “Odor is a thing to be very careful of,” she explained. “You never want to put garlic and onions into a container, wash it quickly, then put chocolate into it, because that odor is probably still in that vessel if you're using some form of a plastic. Because that funk will travel. You can even do the vinegar wash or the lemon wash, but it's really hard to totally remove those odors.”
Tempering Chocolate Doesn’t Require Special Equipment
Beyond a microwave and a bowl, you only need a few other tools for successful tempering. “As far as a spatula—something to move your chocolate around—I love using a heatproof silicone spatula,” Valerie said. “I don't use metal. I don't use wood. Because you want something that is very flexible.”
All you need is a bowl and a thermometer and a spatula.
And you can skip the big marble slabs you see on social media. “I think it's wonderful on Instagram,” Valerie said. “And it is the most traditional way to temper chocolate. It's parallel to like, tossing pizza dough in the air and catching it—most people who are making pizza at home in their Gozney and their Ooni are not tossing that dough. It also takes a lot of expertise and a lot of space. You don't need to do that. All you need is a bowl and a thermometer and a spatula. The digital thermometer is the most important tool that you need for tempering chocolate.”
Chocolate Can Sense Your Bad Mood
Temperament can also affect your tempering. One of the main ways beginners go wrong while working with chocolate? “They’re impatient,” said Valerie. “You really need to rely on the temperature of the chocolate in every step of tempering, and just take deep breaths, and just stand there and stir and let it all coalesce together. I also think it's really important to be in a good mood when you're working with chocolate. If you are really stressed out and in a bad mood and you're trying to work with chocolate, the chocolate is less likely to behave. You've got to flow. Work with pie dough if you're pissed off. Go for the cut of the butter and the pounding of the flour and just get it all out. But chocolate...you want to respond to the needs of the chocolate.”
It's my big mantra for really everything, sweet and savory: Add fat.
Valerie’s class will cover how to temper chocolate two ways—one traditional, and a simplified method that’s nearly impossible to mess up. You’ll have to sign up to learn her secret, but Valerie did give me a hint. “It's my big mantra for really everything, sweet and savory: Add fat.”
Join the conversation on Facebook, Instagram, TikTok and Pinterest.
And if you're looking for more Milk Street, check out our livestream cooking classes with our favorite chefs, home cooks and friends for global recipes, cooking methods and more.