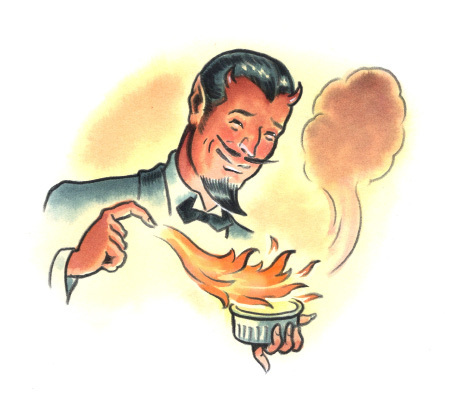
Playing with Fire
Struggling to recreate their favorite restaurant dessert, listeners asked: What’s the best way to caramelize the top of a crème brûlée?
The classic custard dessert crème brûlée is defined by its burnished top, achieved by superheating a thin layer of sugar until it caramelizes into a crisp layer easily cracked with a spoon. But pulling it off can be tricky—it’s all too easy to end up with a sticky, runny, burnt-tasting mess. So we tested the two most important factors: the sugar and the flame. We found the type of sugar used matters greatly. Brown sugar—which contains molasses—performed the worst, burning quickly and resulting in uneven, splotchy caramelization. Turns out, molasses burns at a lower temperature than white sugar (which burns at 350°F). Turbinado sugar was similarly disappointing. Its large crystals and natural molasses content led to slow, uneven melting. Fine-textured powdered sugar clumped, hindering caramelization. Ultimately, the best sugar turned out to be the most basic: white sugar. Its small crystal size ensures uniform melting, creating that characteristic crackly top. For best results, use 1 teaspoon per 6-ounce ramekin, and before heating, gently tap the edges of the ramekin to evenly distribute the sugar. Next, we tested three ways of caramelizing the sugar: the oven broiler, a handheld culinary torch and a plumber’s torch (a larger, more powerful blowtorch, often used in professional kitchens). In our testing, the oven broiler was a letdown, yielding crème brûlée that was overly charred in some spots while barely caramelized in others. Both torches worked better, allowing greater control over the heat for more precise results. But the plumber’s torch slightly edged out the culinary torch thanks to its stronger, steadier flame.
Taking Stock of Cheaper Pots
Bargains abound when it comes to stockpots, but cheaper models are typically made from thin aluminum. Many listeners have asked whether these pots are up to the task or if they should splurge on heavy-bottomed stainless steel pots.
Budget-friendly aluminum pots actually have benefits beyond price. Because they’re thinner, they’re also lighter, which makes for easier handling in the kitchen. Aluminum also heats quickly—in a thin pot, we found that a gallon of water reaches the boiling point a full minute faster and, after 10 minutes of boiling, evaporates 1/2 cup more water. But there also are some drawbacks, including that their quick-heating properties have a tendency to scorch foods that settle to the bottom during longer cooking. Frequent stirring might help prevent this, but it’s not always practical, as in meats that require long braising times. Also, thin aluminum is more susceptible to warping when subjected to high heat or rapid temperature changes. And since they’re less durable than heavy-bottomed ones, they’re more prone to dents and scratches that impact their performance over time. Ultimately, cheap aluminum pots can have a place in the kitchen, as they’re great for tasks where rapid heating is an advantage, like boiling water or making quick sauces. But for slow simmering or long braises, a heavier pot is a better choice.
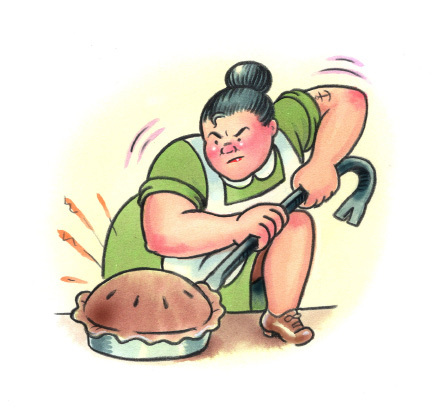
Pecan Pie Problems
Galena, Ohio, caller Joe Moorehead finds that whenever he attempts to bake a pecan pie, the crust becomes welded to the pie plate. He wondered what causes this, and how to prevent it.
What makes pecan pie so good—that sugary, gooey filling—also makes it susceptible to sticking to the pan. When warm, the filling is liquid but hardens as it cools. And if any of that filling gets between the crust and the pan, the crust becomes glued in place. There are many ways this could happen; the most common is overfilling the pie. If there is too much filling in the crust, the bubbling-hot mixture can overflow. To prevent this, be sure the pie crust is no more than two-thirds full. Crust thickness matters, too. If the crust is rolled too thin (anything less than ⅛ inch thick), fillings can seep through. Holes or cracks in the dough also can create leakage. For pies with wet fillings, blind-baking the pie crust prevents it from getting soggy. Docking (a technique that calls for pricking holes in the crust, usually with a fork) prevents shrinkage and buckling by letting steam escape during baking. But those docking holes also can let filling escape, and with a pecan pie, that’s a problem. The solution? When blind-baking, keep the crust flat by using pie weights instead of docking—these small ceramic or metal balls are widely available at baking specialty shops. First, line the pie dough with foil or kitchen parchment, then add your pie weights (alternatively, dried beans or rice can be used). But even if your pecan pie does stick, fear not: You should be able to get the pie to release by warming it in a 250°F oven for about 15 minutes.